+1.585.321.5800
Setting up a Remote Log Server
Storing log files on a remote log server supports advanced logging functionality.
- Navigate to MANAGEMENT > OTHER: Log Configuration.
- In the Remote Log Server panel, click on the PLUS icon in the top-right corner of the panel. The Add Remote Log Servers window displays.
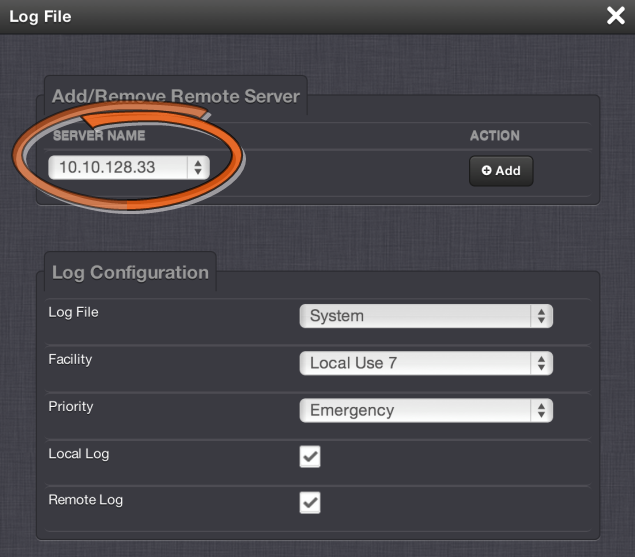
- Enter the IP address or host server name (e.g., “MyDomain.com”) you want to use as a remote log server.
- Click the Submit button.
- Your remote log server will appear in the Remote Log Server panel, and as a SERVER NAME in any Log File configuration screen:
- Once a remote log server has been setup successfully, do not forget to configure the logs to be sent to the remote server, see Configuring Logs.

- Navigate to MANAGEMENT > OTHER: Log Configuration.
- In the Remote Log Server panel locate the remote server you wish to change or delete.
- Choose the MINUS button to delete the remote log server. Confirm by clicking OK in the message window.
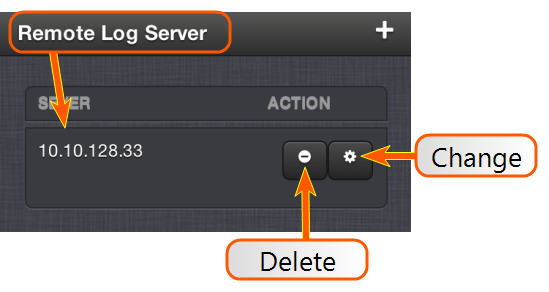
—OR—
- In the Remote Log Server panel, click the GEAR button to change the remote log server. Type in a new IP address or host domain server (e.g., MyDomain.com).
Note: Clicking the Delete button in any of the Log file configuration windows does NOT remove the chosen remote log server from the network; it merely deselects the server as that particular log’s remote log server.
Note: In the event that a syslog server does not support listening on the standard syslog port, you may redirect the syslog port to the desired port by utilizing built-in port forwarding capability in network switches (search online for port forwarding or port mapping).